Step-by-Step Hand Lettered Graphic
About the Project
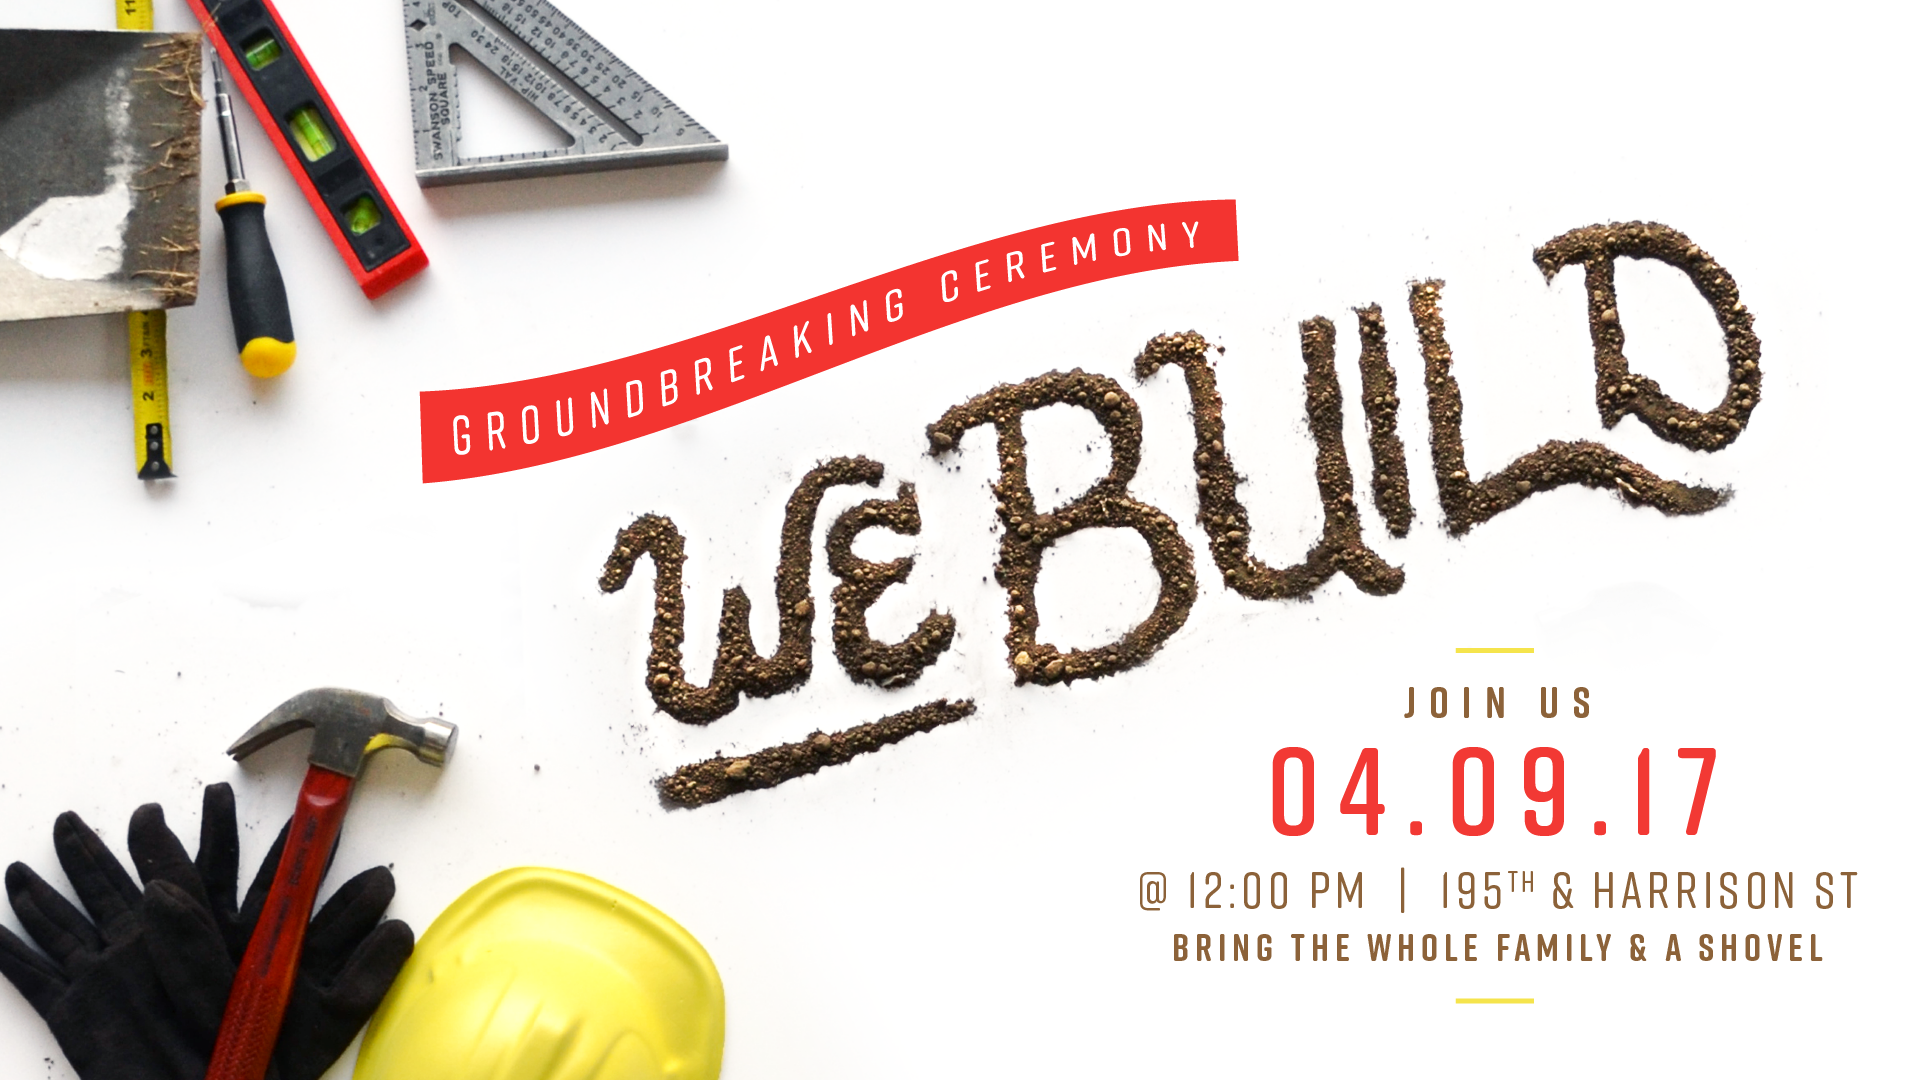
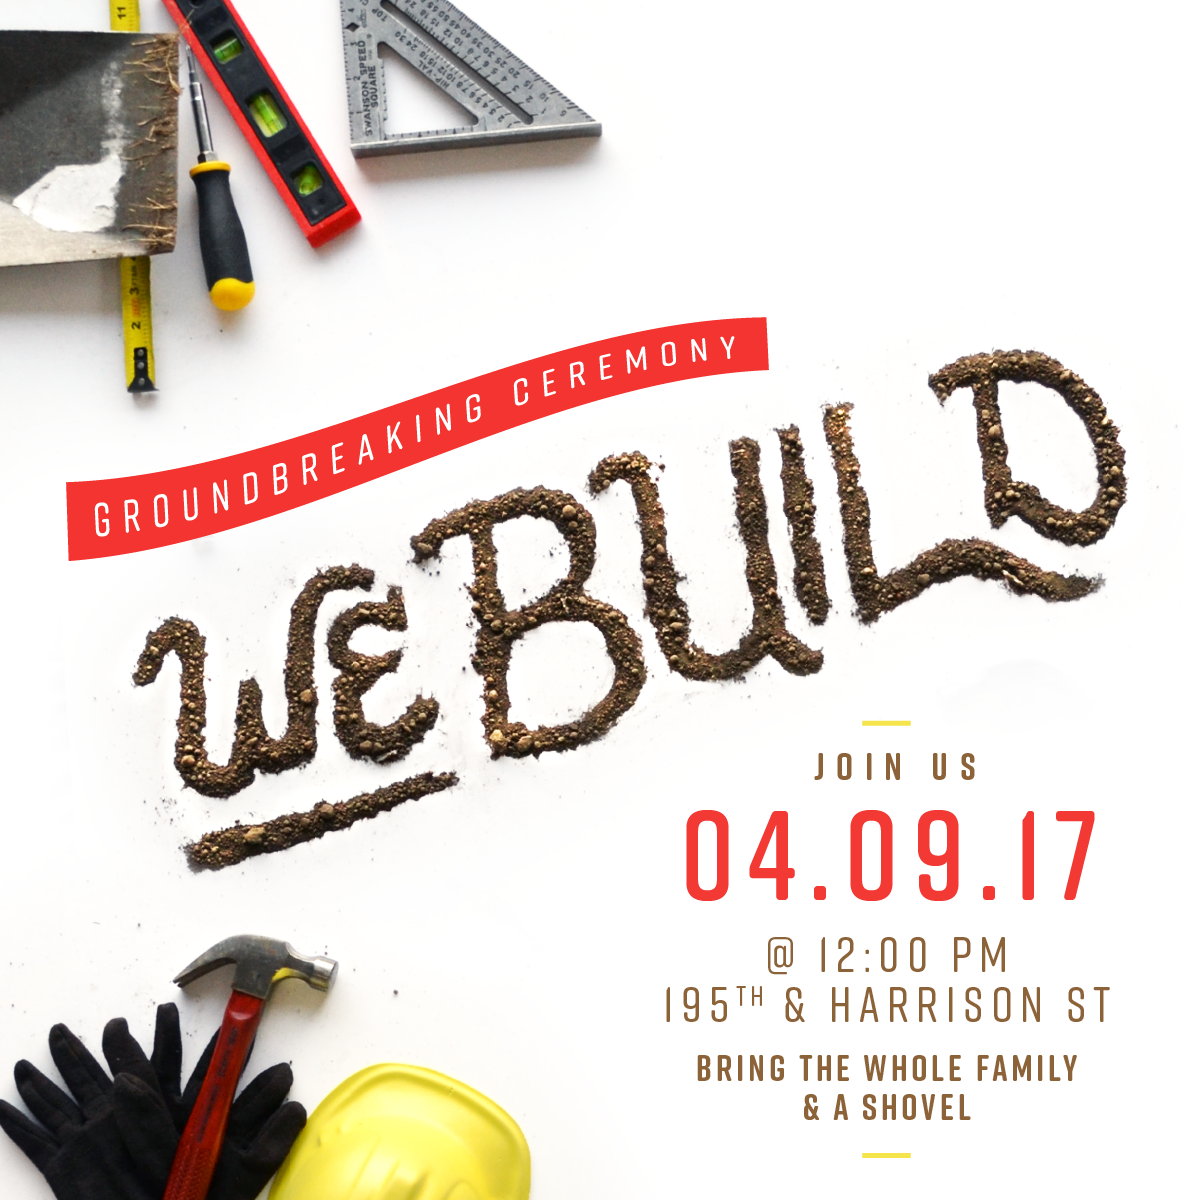
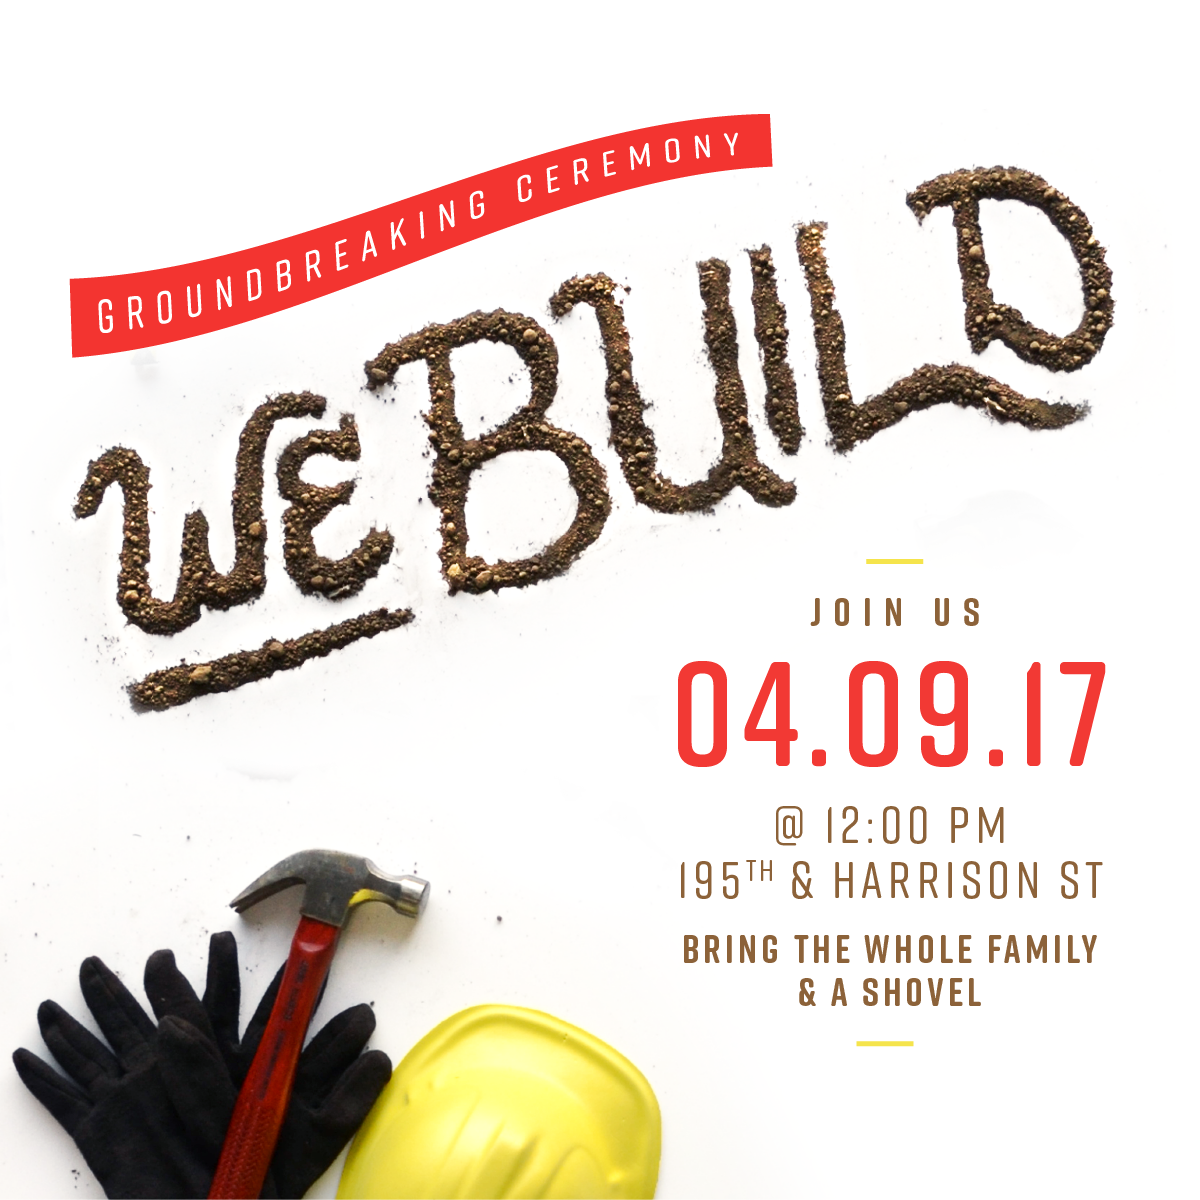
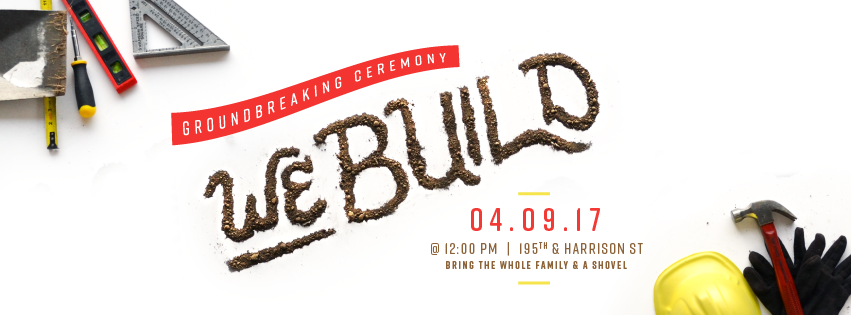
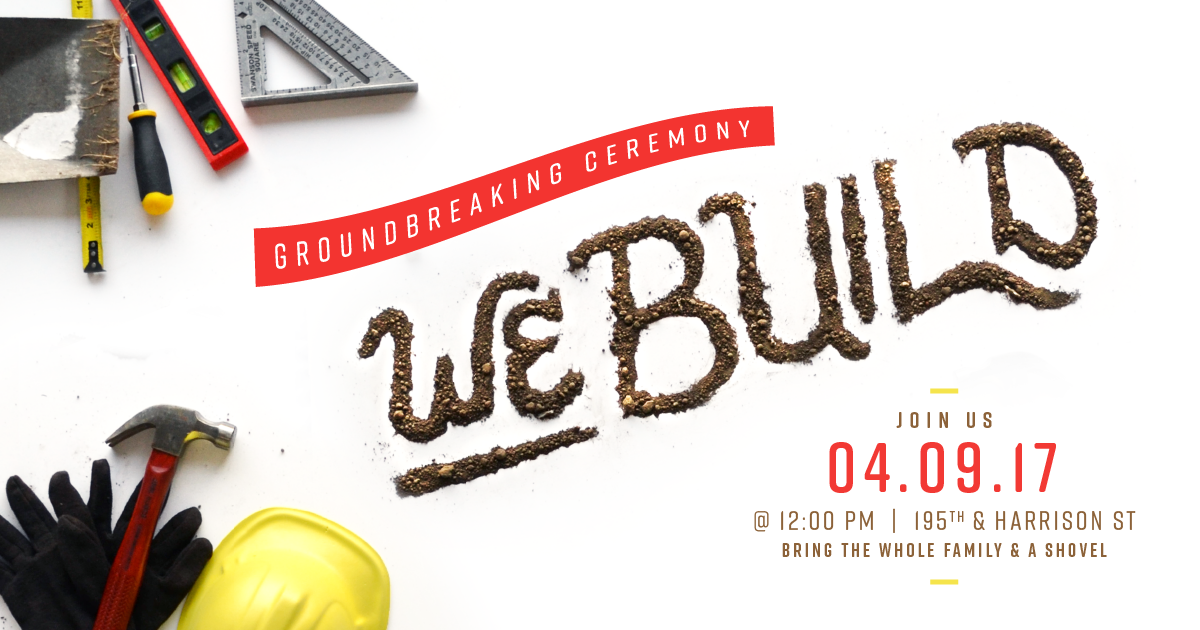
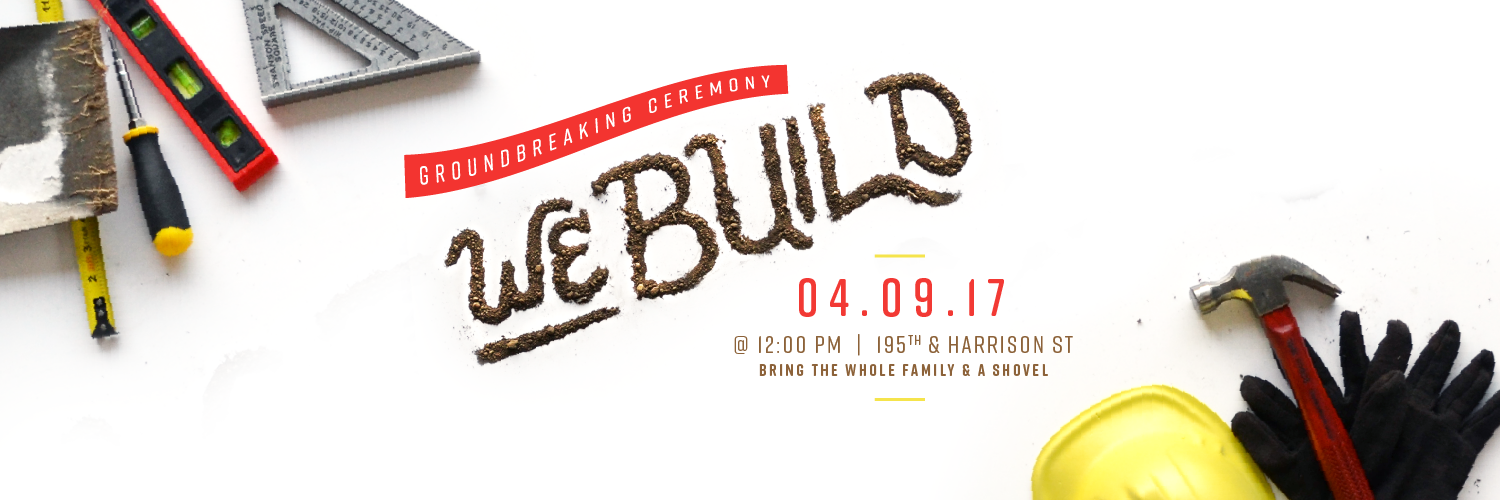
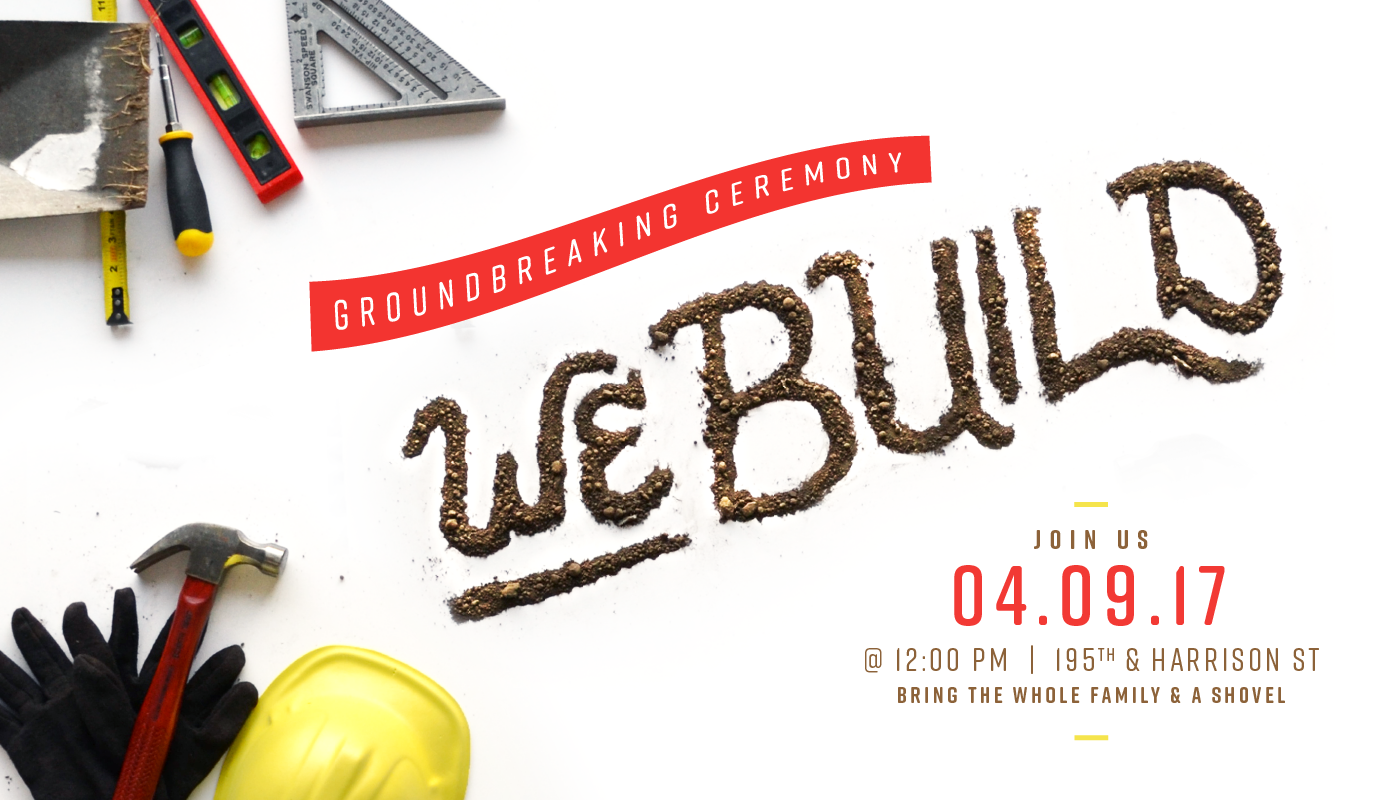
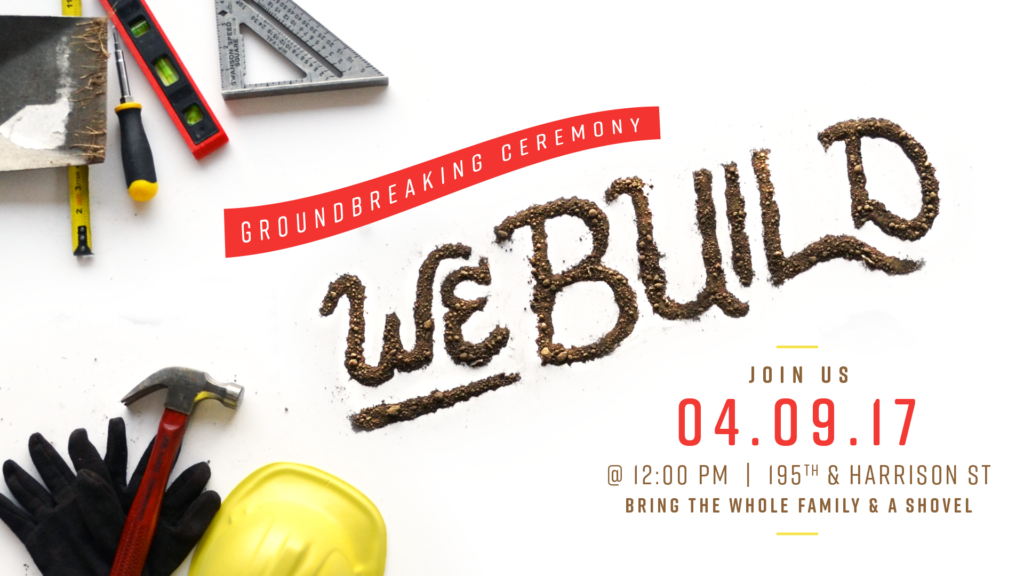
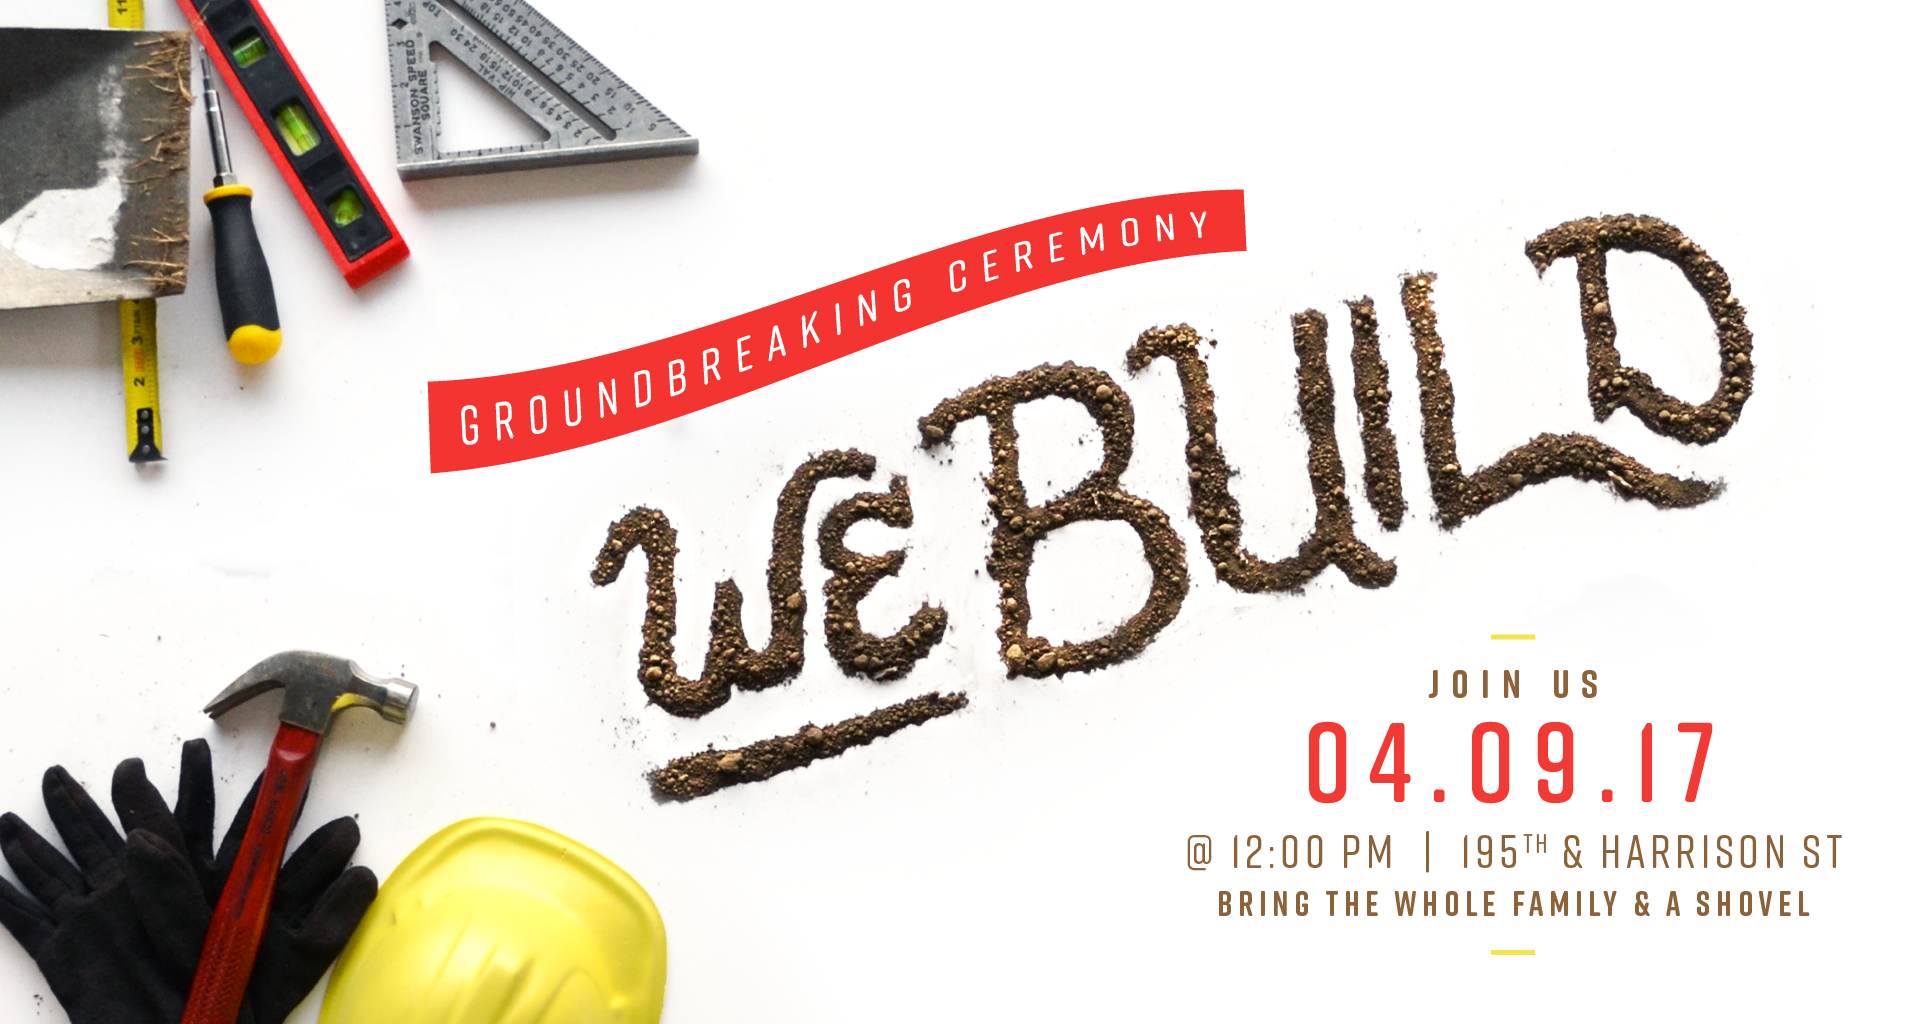
During the day I am almost always styling WordPress Websites or creating branded graphics for social media for clients, but I like to design outside of the ole 9:00-5:00, too! I attend The Water’s Edge church in West Omaha and Pastor Craig and the staff are always open minded when it comes to small church campaigns that need a little flair. The Water’s Edge (WE) is in the final stages of a completing our first ever physical church facility; exciting times for past, present, and future members! This building (WE Build… get it? OK.) has been years in the making and there’s not a single milestone we will not celebrate. In the spring of 2017, I was tasked with graphics for the Groundbreaking Event. This was one of the those projects that just came to me. The only item I got really lucky on the was the yellow construction helmet.
If you’ve read Elizabeth Gilbert’s book Big Magic, this project is a prime example of “big magic” for me. The general premise is that inspiration passes through individuals, and when a person embraces inspiration and takes action the magic just happens. This project took me around 8 hours to complete, including editing and creating custom social media graphics. I am the over-researcher of over-researchers so to think of and execute a project in an afternoon is, well, magic for me.
Here are the steps I took to create a hand lettered graphic.
Step 1: Visualize the Finished Graphic
I knew the goal of this project was to create graphics to promote an event and I would have to find ways to use the same static images at different sizes and dimensions. What works well as a long skinny rectangle does not fit comfortably into a square. I start pretty much every project with a pencil and paper so I sketched out “WE Build” on a plain sheet of paper to figure out the angle and shapes I wanted. I also had to consider the sizes of potential props and how they might fit into the overall composition.
Step 2: Gather Supplies
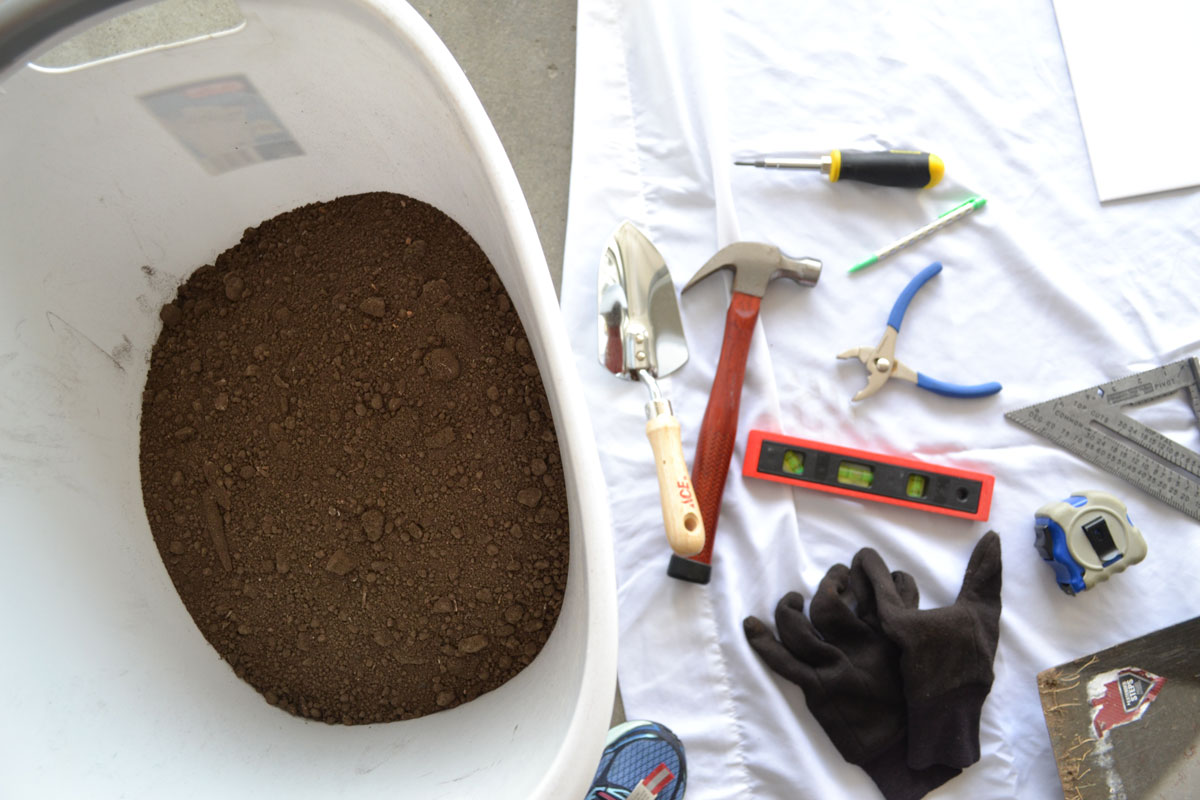
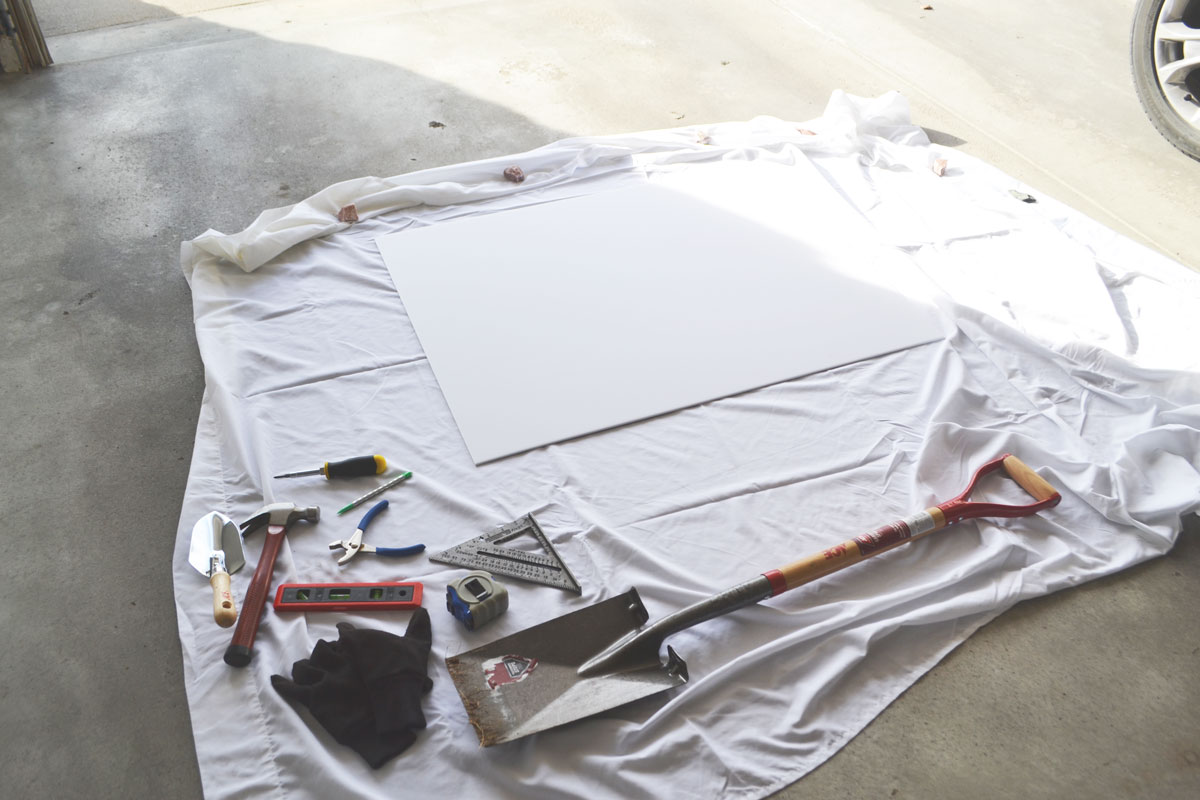
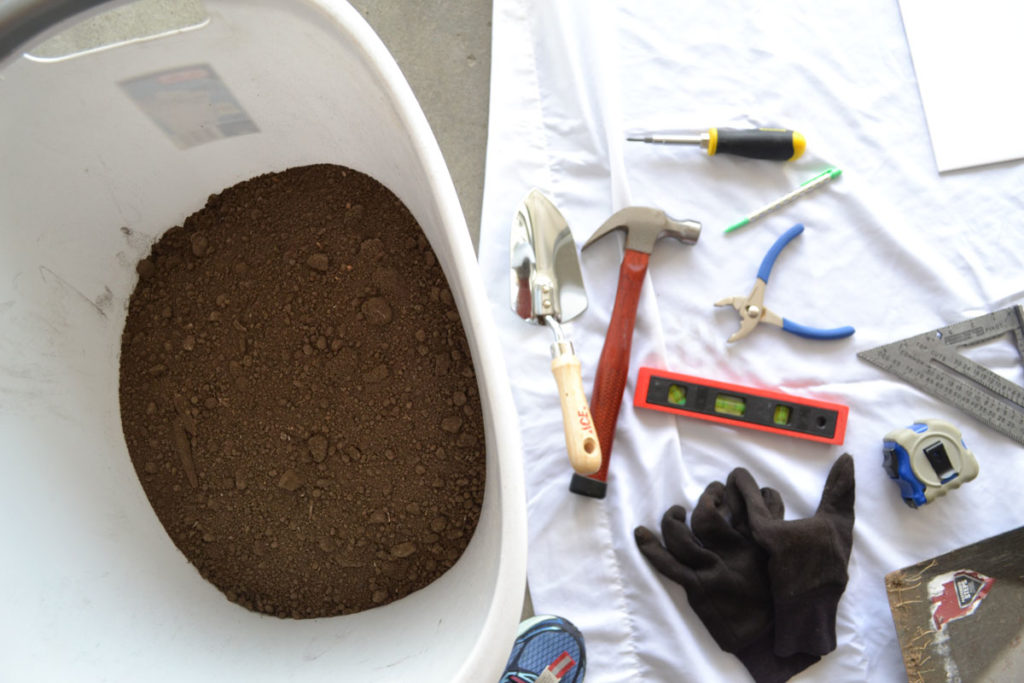
The only items I bought for this project were a large white foam board and a yellow foam construction hat from my Local Craft Store. (Ok, it was Hobby Lobby, not trying to be political here). As I mentioned above, that little construction helmet was my only struggle/lucky find. All other supplies were found in my own garage. These supplies-turned-photoshoot-props included dirt from a landscaping project, two small shovels, a tape measure, work gloves, a hammer, a level, and pliers. To set my extremely glamorous stage, I used an old white bed sheet, a ladder, and my good camera to take photos.
Step 3: Control the Environment
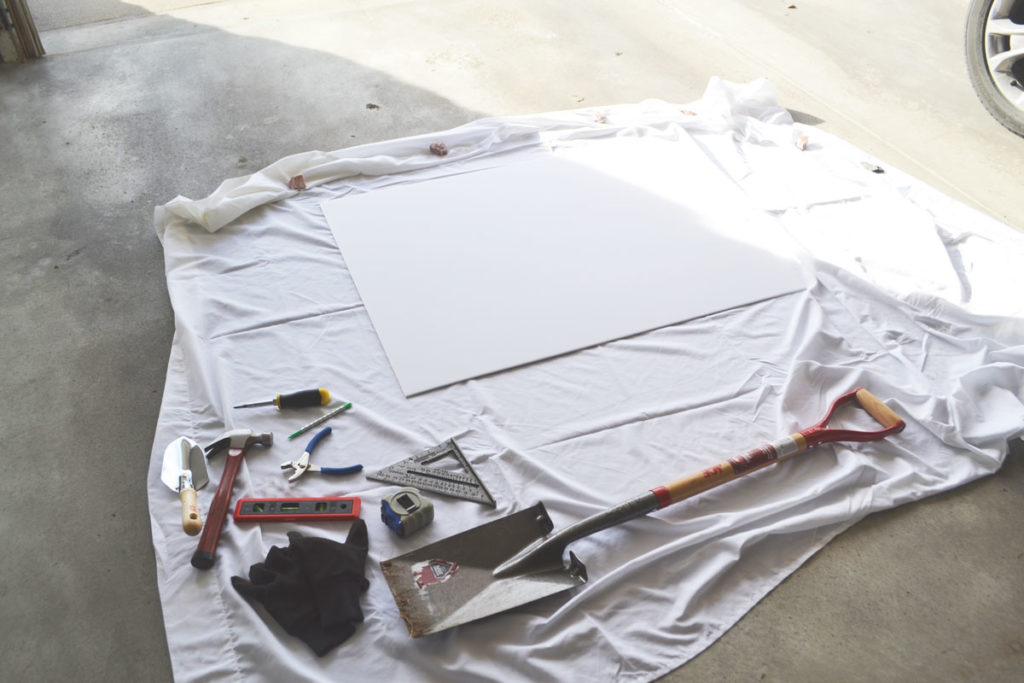
I wanted to use real dirt and props, no stock photography, so I knew I needed to be able to control my set up. I decided to use my garage for a few reasons. First, using the garage would give me plenty of room to spread out and climb up and down a ladder. Second, it’s easy to clean or sweep up any messes. Third, I wanted natural light. Luckily our garage opens to the West so I got lots of natural light without the light being too harsh. I’m all about that golden hour evening light. Being surrounded by 3 walls kept the dirt and other supplies from being blown around by wind or strong breezes (Midwest living, am I right?).
I would also like to add that this type of project is perfect for freaking out your neighbors. Bonus points if they already think you’re weird!
Step 4: Start Spelling Already
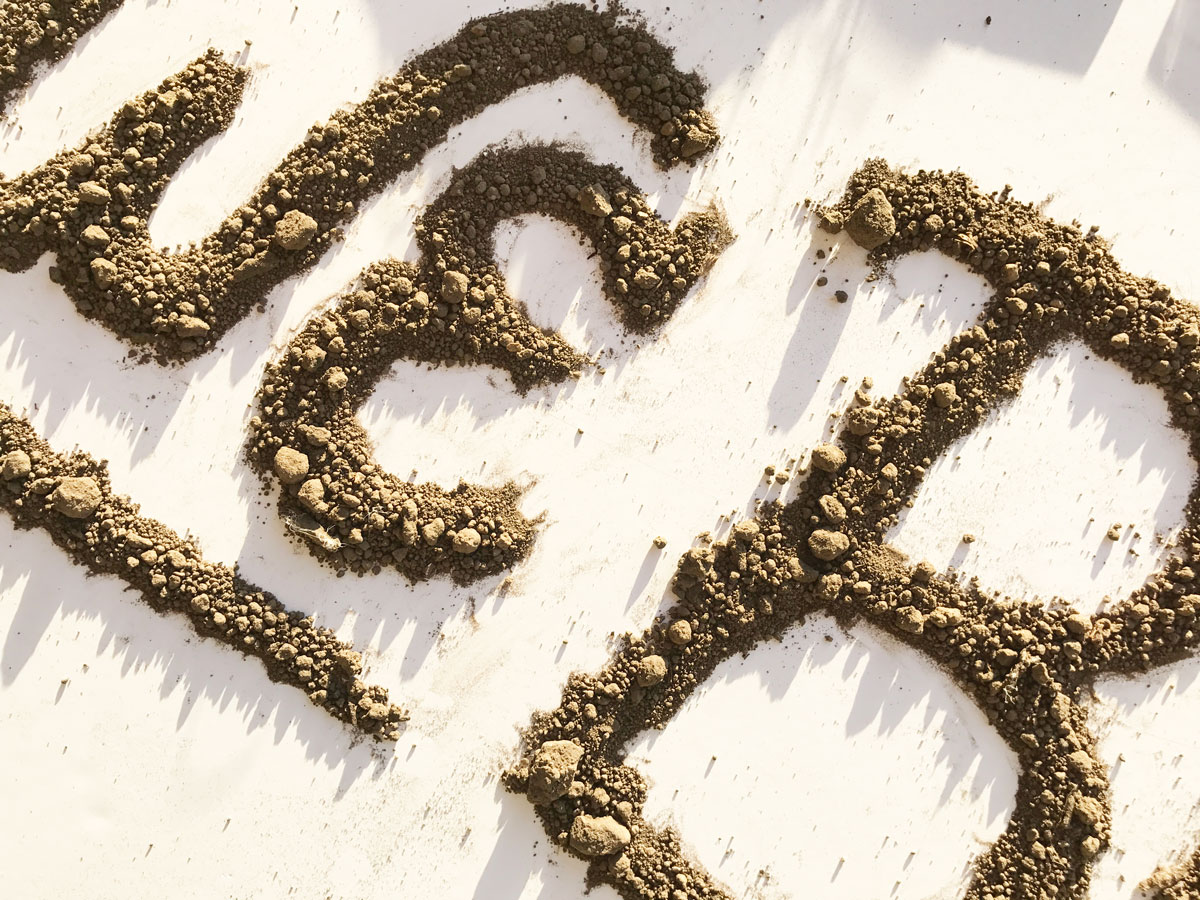
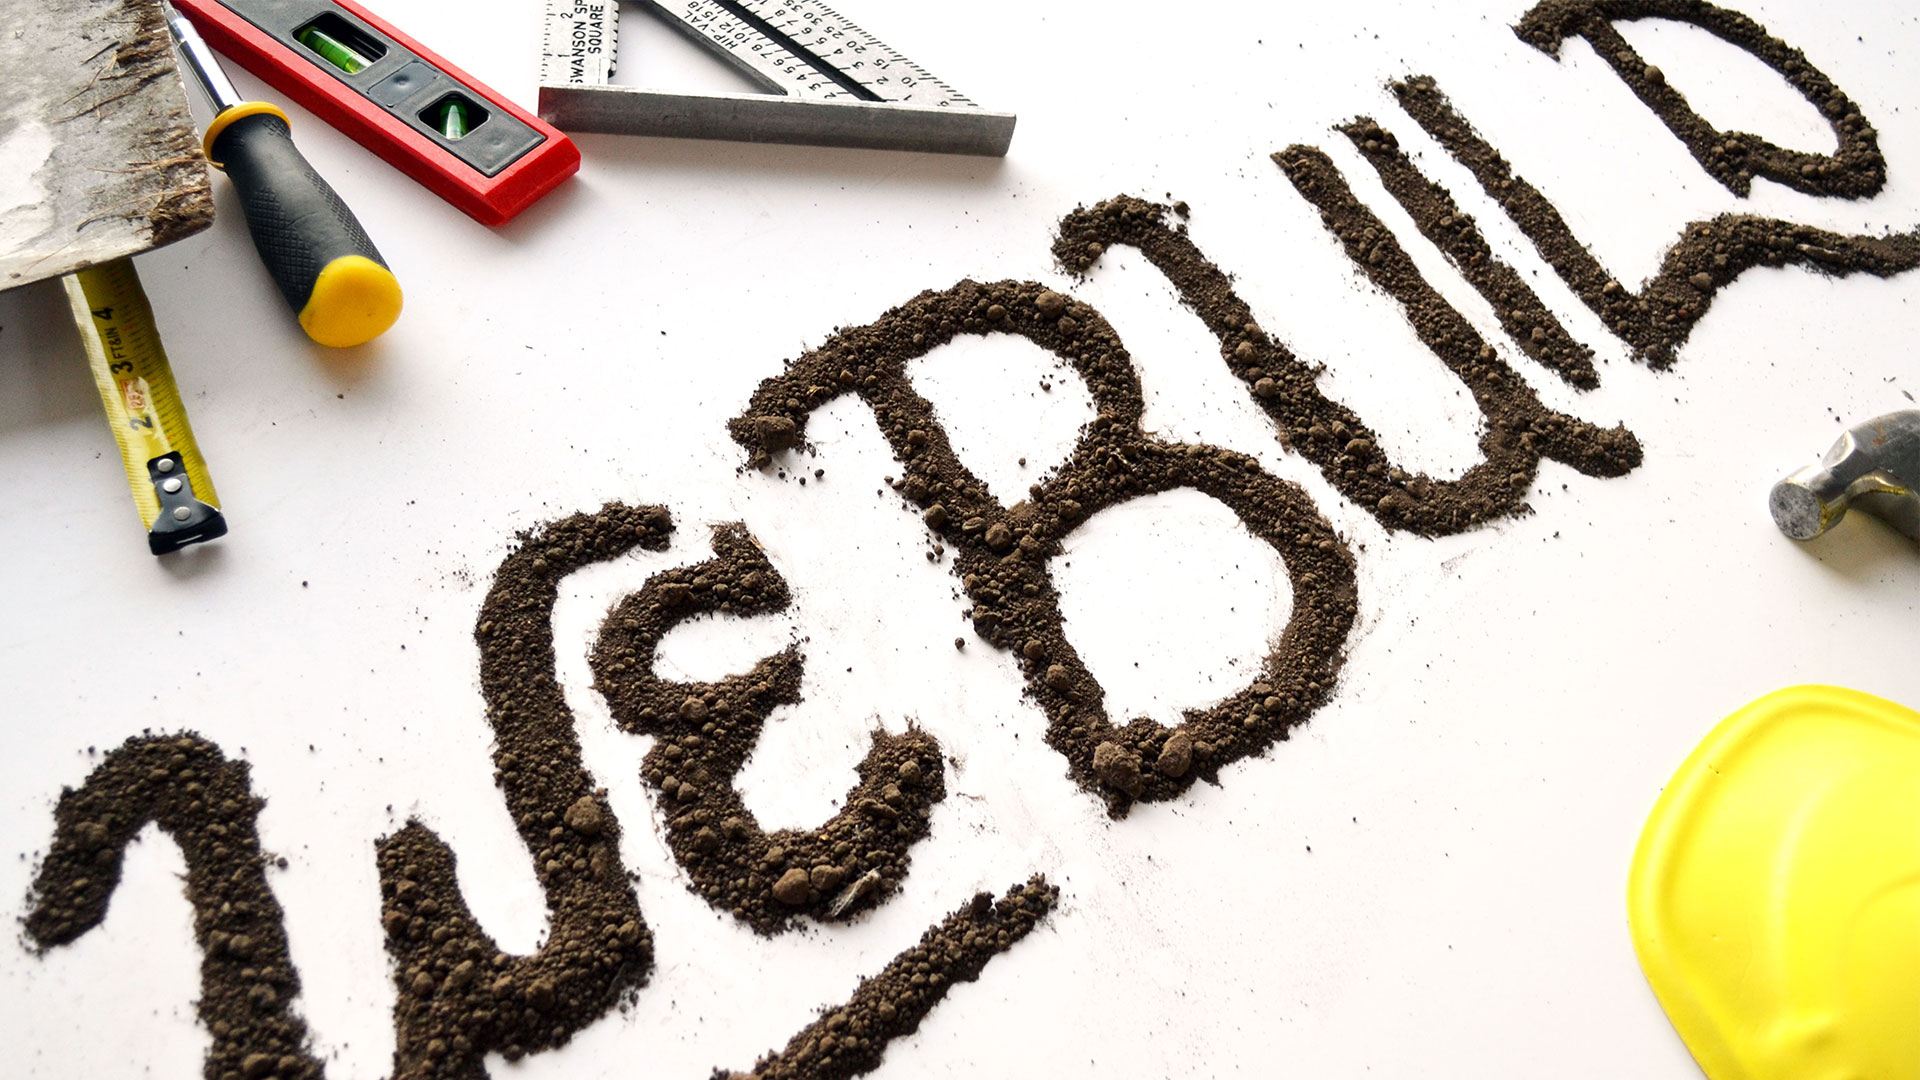
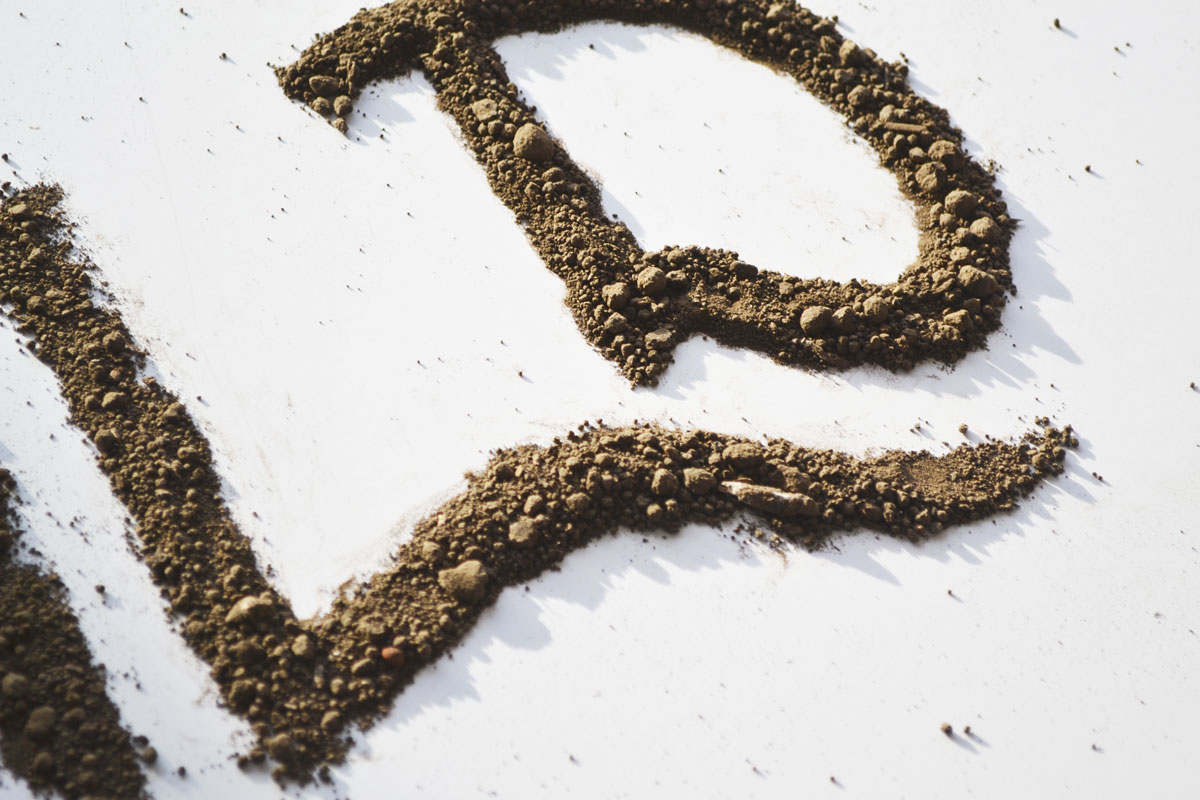
Did I mention I used dirt for the lettering? I started by drawing two parallel sloping lines so that all my letters would be about the same height. Then I used my precious, keyboard-typing, non-manual labor hands to grab handfuls of dirt and start roughly drawing each letter. It’s super fun and low stress to use a material with the consistency of sand for letterforms because you just sweep away any part you want to reshape or get rid of.
Step 5: Place Your Props
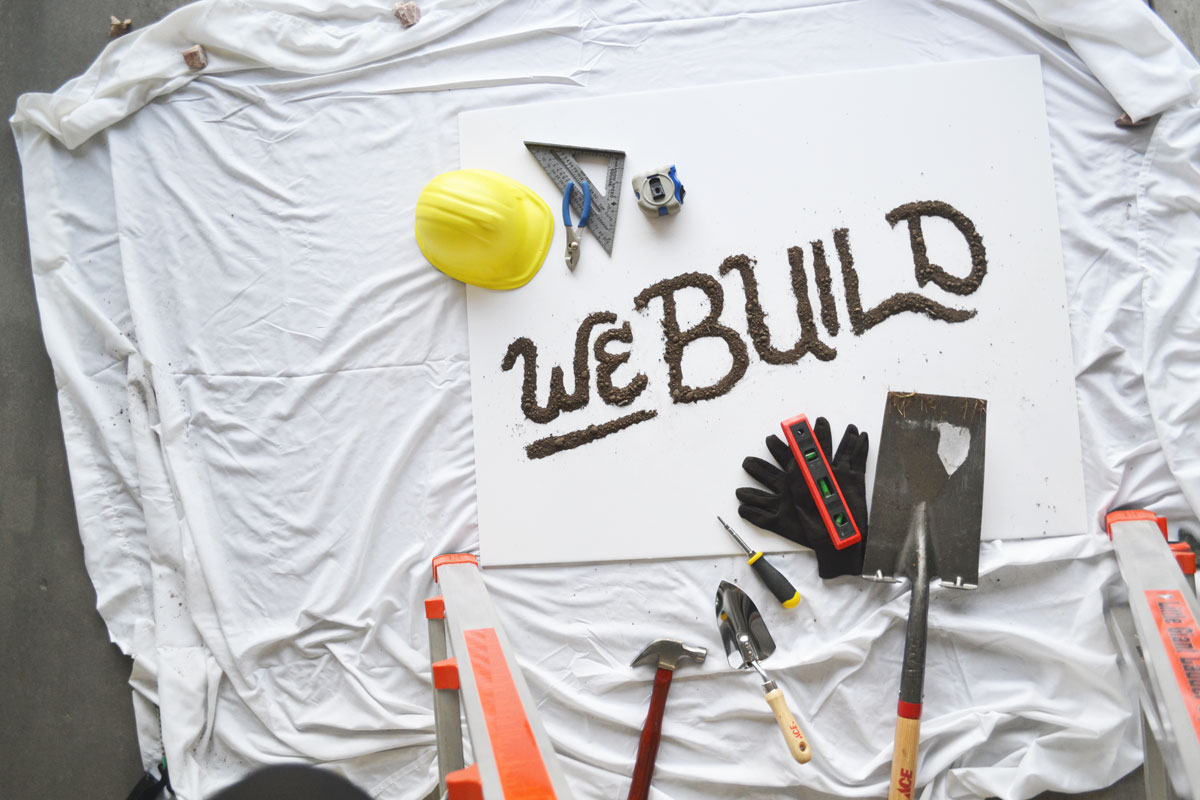
The internet and my heart would like to refer to this next step as “styling” the props. I gathered my collection o’ tools and started lying them around the edges of the letters. And then I repeated these steps approximately 75 times: arrange props, crawl up ladder, hang off ladder, take photo, crawl down ladder, rearrange props.
Step 6: Clean Up Crew
Next was time to clean up the images in Photoshop. Oh, did you think I was talking about the garage? I did that, too, in fact it only took me 7 months to bring the poster board back up to my office! Being married to a designer is thrilling – you don’t know what kind of supplies you’ll find lying around or how long they’ll be there! I uploaded my favorite/best shots and got to work brightening up colors, tracing and masking props and letters so that I could put them on a clean white background and move all of the pieces around for the various sizes. This step also includes adding typography and hoping people like it. “Oh, you actually wrote that?!” You better believe it. And it was FUN.
Have you ever had projects that come to fruition so easily, you just blink and they happen? Do you also leave miscellaneous projects supplies lying around for longer than you should? If you do, we would make terrible roommates!

